So, You Bought a Laser Engraver. My Condolences. Here Are 5 Mistakes You're Probably Making
~15 min read | Beginner Guide
The Five Stages of Laser Grief
Welcome to the club. You've just unboxed a glorious, futuristic machine capable of etching your wildest dreams onto wood, acrylic, and leather with a beam of pure, concentrated light. You've already imagined the thriving Etsy empire, the personalized gifts that will make you a holiday legend, and the sheer, unadulterated joy of turning digital bits into physical objects.
- Denial: "It can't be that hard. It's just a fancy printer that uses light, right?"
- Anger: "Why is this a smoldering, unrecognizable piece of garbage?! I followed a YouTube video from 2017!"
- Bargaining: "Okay, machine, if you just cut this one piece correctly, I promise I'll clean your lens... eventually."
- Depression: "I've wasted my money on a high-tech campfire starter. I should have just taken up knitting."
- Acceptance: This is where you accept that this powerful tool demands respect, knowledge, and a methodical approach. This is where you stop flailing and start learning.
And that, my friend, is where this guide comes in. I've made all the mistakes so you don't have to. Let's walk through the five biggest blunders that are currently standing between you and laser-engraving glory.
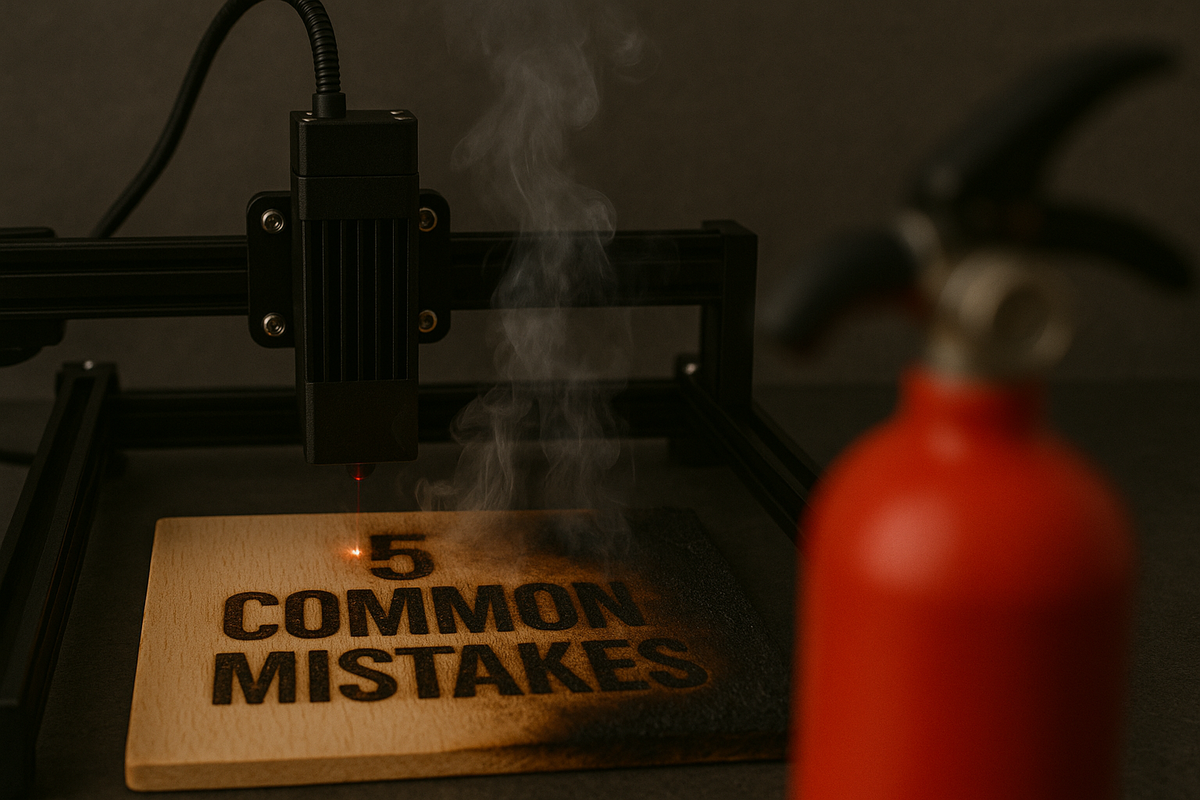
Mistake #1: Gross Negligence
(Or, Treating a Class 4 Laser Like a Toaster)
Let's get the most important thing out of the way first. The sleek, consumer-friendly box your laser came in is hiding an industrial-grade tool that can, without exaggeration, burn your house down, poison you, and permanently blind you. Treating it with the same casual disregard you give your microwave is the single fastest way to disaster.
Yes, It Can and Will Start a Fire
The combination of a high-energy heat source, flammable materials like wood and acrylic, and a constant supply of oxygen (often helpfully blasted onto the material by your air assist) creates the perfect fire triangle. Beginners, especially during long raster engraving jobs, get complacent. They'll start a 45-minute photo engrave and wander off to make a sandwich. This is a terrible idea.
Fire Safety Guidelines
- Never, ever leave the machine unattended while it is operating. You need to be within sight and earshot at all times. This is not negotiable.
- Keep a Class C fire extinguisher within arm's reach of the machine. Not in the next room. Right next to it.
- Keep your workspace meticulously clean. Remove flammable clutter and regularly clean out the crumb tray and honeycomb bed.
That Smell Isn't 'The Scent of Creativity,' It's Poison
If you can smell what you're cutting, your ventilation is inadequate. Period. That odor is a cocktail of fumes and particulates that, at best, can give you a headache and, at worst, can be seriously hazardous to your health.
Materials to Never Cut
- PVC (Polyvinyl Chloride) - Releases chlorine gas that will destroy your lungs AND your machine
- Fiberglass, carbon fiber, certain epoxy resins - Toxic fumes when vaporized
Your Eyeballs Are Not Laser-Proof
Your laser emits powerful, invisible radiation that can cause permanent, irreversible eye damage in an instant. The machine's enclosure is your first line of defense, but it's not the only one.
Eye Safety Guidelines
- Always wear safety glasses specifically rated for your laser's wavelength (e.g., 10,600 nm for CO2)
- Keep the machine's lid closed whenever the laser is active
- Never look directly at the cutting point, even with safety glasses on
Mistake #2: The 'Wing It and Weep' Method
for Materials & Settings
After surviving the initial safety learning curve, the next great wall of frustration is figuring out the correct settings. The internet is littered with the desperate cries of new users whose expensive materials have been transformed into coasters, char, and disappointment.
Guesswork Is for Lottery Tickets, Not Lasers
At its core, a laser operates on a simple relationship between three things: Power, Speed, and Material. Power dictates the intensity of the beam, while Speed dictates the duration the beam hits any single point.
Common Setting Failures
- Inconsistent Engraving Depth: Parts deep and clear, others faint and shallow
- Scorching and Charring: Too much heat for too long
- Incomplete Cuts: Pieces still stubbornly attached
- Melted or Warped Edges: Material melts instead of vaporizing cleanly
The Sacred Ritual of the Test Grid
Every laser is slightly different due to tube age and mirror alignment. Every piece of wood has a unique density, grain, and moisture content. This is why the test grid is the most important ritual in laser engraving.
Testing Process
- Use your software's Material Test Generator (like LightBurn's built-in tool)
- Test on scraps of your actual material, not different material
- Document what works and save settings with descriptive names
- Adjust incrementally - small changes make big differences
Not All Woods Are Created Equal
A common beginner assumption is that "wood is wood" and "acrylic is acrylic." This could not be more wrong.
| Material | Task | Speed (mm/s) | Power (%) | Notes |
|---|---|---|---|---|
| Plywood (3mm) | Engrave | 300-500 | 15-25 | Use air assist to reduce surface charring |
| Plywood (3mm) | Cut | 15-25 | 60-70 | Slower speeds can cause more edge burning |
| Solid Wood (Oak) | Engrave | 200-300 | 20-30 | Hardwoods require more power than softwoods |
| Cast Acrylic (3mm) | Engrave | 300-500 | 12-20 | Produces a frosty white finish |
| Cast Acrylic (3mm) | Cut | 15-20 | 50-65 | Should result in clean, matte edge |
| Leather | Engrave | 300-600 | 15-30 | Ventilate well; smell is strong |
| Anodized Aluminum | Engrave | 400-600 | 15-25 | Removes anodized layer only |
| Glass | Engrave | 300-400 | 10-18 | Apply wet paper towel to dissipate heat |
Remember: These are starting points for your own tests, not final settings. Use these to get in the right ballpark, then run your test grid!
Mistake #3: Feeding It Digital Garbage
(Design & Software Fails)
Your laser engraver is a remarkably precise machine, but it is not a mind reader. It will faithfully reproduce whatever you tell it to, including your mistakes. The old computer science adage "Garbage In, Garbage Out" applies perfectly here.
Your Blurry Phone Pic Will Engrave as a Blurry Mess
One of the most popular applications for lasers is engraving photographs. It's also one of the easiest to get wrong. If the source image is low-quality, the engraving will be too.
Photo Preparation Workflow
- Start with Quality: Minimum 300 DPI at final size
- Crop and Clean: Remove distracting backgrounds
- Convert to Grayscale: Translate colors to laser-readable shades
- Adjust and Enhance: Boost contrast - make darks darker, lights lighter
- Sharpen: Apply "Unsharp Mask" for distinct edges
- Convert to Bitmap (Dither): Create black/white dot pattern
The Eternal Battle: Raster vs. Vector
Not understanding the fundamental difference between these two file types is a massive source of frustration.
Raster Files
Types: JPEG, PNG, BMP
Made of: Grid of pixels
Laser processes: Line by line, like a printer
Used for: Photos, filled shapes, detailed images
Vector Files
Types: SVG, AI, DXF
Made of: Mathematical paths
Laser processes: Follows paths directly
Used for: Cutting shapes, thin lines, scoring
The Ultimate Sin: Permanent Typos
Unlike a typo in a document, a laser-engraved mistake is permanent. "CONGRATUALTIONS" on a wedding gift cannot be undone.
Solution: Proofread. Then proofread again. Get client approval in writing. Read text backward to catch errors.
Mistake #4: The Dark Art of Focusing
(And Other Setup Sins)
If you've addressed safety, settings, and your design file, but your results are still blurry, weak, or inconsistent, the culprit is almost certainly your focus.
It's a Laser Beam, Not a Floodlight
The beam of light that comes out of your laser tube is relatively wide. The job of the focusing lens is to concentrate that beam down to a tiny, incredibly powerful point. The beam's shape as it passes through the lens is like an hourglass.
The Focal Point
The "focal point" is the narrowest part of the hourglass, where energy density is at its absolute maximum. If your material is not at this exact point, the beam will be wider and weaker.
Pro Tip: For engraving, focus on the surface. For cutting thick materials, focus halfway through the thickness.
Focusing Methods
- Manual Focus with Gauge: Use the included acrylic block, place on material, adjust bed until nozzle just touches gauge
- Autofocus: Let the machine's sensor do the work (if available)
- The Ramp Test: Engrave a line on an angled piece to find the exact focal point
Mistake #5: The 'If It Ain't Broke' Maintenance Plan
Your laser engraver is a precision instrument, not a hammer. It requires regular, proactive maintenance to perform consistently and reliably. Adopting an "if it ain't broke, don't fix it" mentality is a surefire way to experience frustrating performance degradation and eventual component failure.
Your Laser's Dirty Little Secret: Filthy Optics
The single most common cause of a gradual, "mysterious" loss of cutting power is dirty optics. Every time your laser fires, it creates smoke, fumes, and tiny particles that settle as a fine film on the mirrors and focusing lens.
What Dirty Optics Do
- Absorb laser energy instead of reflecting/transmitting it
- Heat up and potentially crack from absorbed energy
- Permanently bake residue onto the surface
Is That Water... Green?
For CO2 laser owners: That glass tube gets incredibly hot and requires constant cool water flow. Using tap water leads to algae growth and mineral deposits that can crack your expensive laser tube in seconds.
| Task | Frequency | Why It's Not Optional | Tools Needed |
|---|---|---|---|
| Clean workbed & crumb tray | After Every Job | Prevents fire hazards | Brush or vacuum |
| Check & clean focus lens | Weekly | Most common cause of power loss | Lens cleaner, cotton swabs |
| Check water cooler | Weekly | Prevents laser tube destruction | Your eyes |
| Clean all mirrors | Monthly | Ensures maximum beam power | Lens cleaner, lens tissue |
| Change cooling water | Monthly | Prevents algae and contamination | Distilled water, bucket |
| Professional service | Annually | Check alignment and components | Your phone |
Conclusion
If you've made it this far, congratulations. You have navigated the five stages of laser grief and are now armed with the knowledge to avoid the most common, costly, and soul-crushing mistakes. The frustrations you've felt are a rite of passage, a shared experience that unites every maker who has ever tried to bend light to their will.
The Five Pillars of Laser Success
- Safety: Respect the machine's power
- Settings: Test methodically, document everything
- Software: Quality files in, quality results out
- Setup: Focus religiously, align precisely
- Service: Maintain proactively, not reactively
You've invested in a powerful, versatile tool. Now, invest the time to understand it. The learning curve is steep, but the view from the top is worth it.
Now stop reading and go make something. And for heaven's sake, don't set it on fire.
Skip the Learning Curve
Start creating beautiful results immediately with our beginner-friendly Christmas designs. No more trial and error or wasted materials.
100 Christmas DesignsProfessional designs • Commercial licensing • Instant download